
Installing the PCBWorks-SOLIDWORKS Collaboration Add-in
Contents
Parent page: Installation Overview
The third component required to successfully install PCBWorks for collaboration with SOLIDWORKS®, is the PCBWorks-SOLIDWORKS Collaboration add-in. This plugin adds collaboration functionality and the requisite PCBWorks Collaboration panel into SOLIDWORKS.
The wizard also provides the ability - post installation - to optionally initialize your Collaboration Server/Altium Vault for collaboration purposes. This involves:
- Creating ecad and mcad users in the server/vault, to cater for server/vault access (to 'get at' the collaborative projects) by the two sides.
- Adding example designs (managed design projects), to a default Examples repository, created for the server/vault.
Installation of the add-in is both intuitive and expedient, courtesy of the PCBWorks - SOLIDWORKS Collaboration Setup wizard.
Pre-Install Preparation
To access the PCBWorks - SOLIDWORKS Collaboration Setup wizard, you need to run an executable – PCBWorks - SOLIDWORKS Collaboration <VersionNumber>.exe. This executable is included in a zip file of requisite installables, acquired after purchase of PCBWorks, and can be saved anywhere on your hard disk.
Running the Setup Wizard
Double-click the PCBWorks - SOLIDWORKS Collaboration <VersionNumber>.exe file. The PCBWorks - SOLIDWORKS Collaboration Setup wizard will appear.
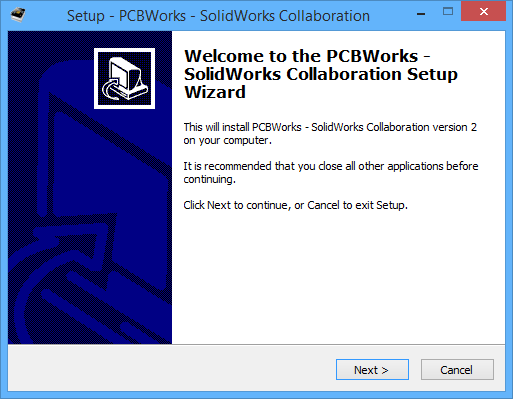
Initial welcome page for the PCBWorks - SOLIDWORKS Collaboration Setup wizard.
Click Next to continue. The following sections provide a summary of the various pages you will encounter.
Select Destination Location
This next page of the wizard allows you to specify the destination in which to install the PCBWorks - SOLIDWORKS Collaboration add-in. The default installation path is \Program Files (x86)\Altium\PCBWorks - SOLIDWORKS Collaboration. The add-in requires at least 19.3MB of free disk space for installation.
To specify an alternate location, simply type the location directly into the field, or click the Browse button at the right of the field and browse for the required destination folder (or create it on-the-fly).
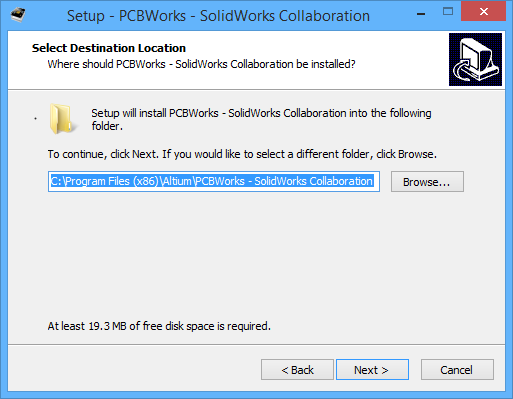
Determine install location for the PCBWorks - SOLIDWORKS Collaboration add-in.
Once the install location is specified, click Next to continue.
Ready to Install
The Installer now has all the information it requires to proceed with the installation. If you need to change anything, click the Back button. If you want to cancel out of the install, click Cancel. To go ahead and proceed with the installation, click Install. The page will change from "Ready to Install" to "Installing" and the installation will proceed.
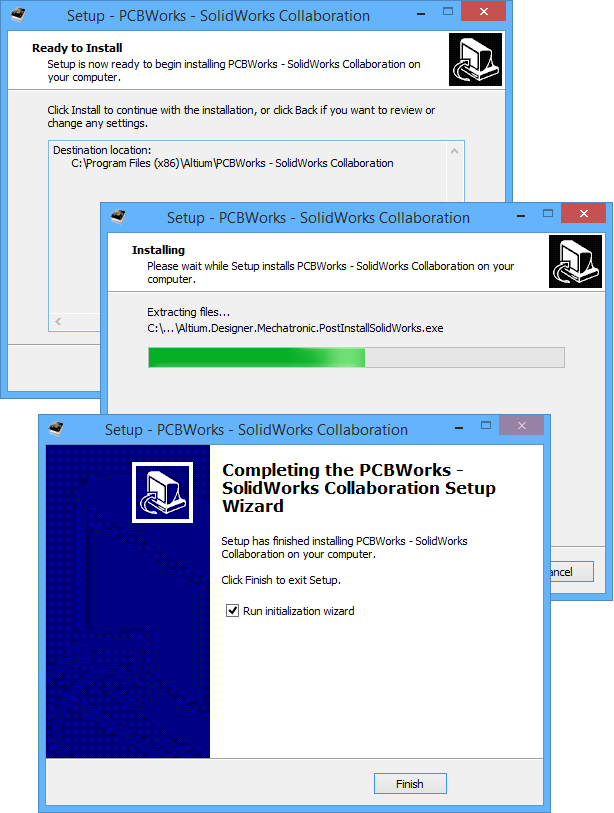
Kick off the installation by clicking Install.
Once the installation is complete, click Finish to exit the wizard.
Keep the Run initialization wizard option enabled to automatically initialize your Collaboration Server/Altium Vault in readiness for collaboration (see the next section for what this entails).
Initializing the Collaboration Server/Altium Vault
If you have opted to make use of the automated server/vault initialization, then after clicking Finish in the PCBWorks - SOLIDWORKS Collaboration Setup wizard, you will be presented with the SW Collaboration Setup dialog.
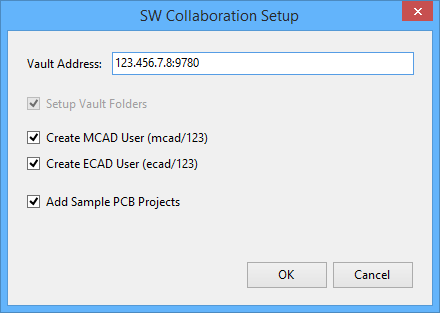
Use the SW Collaboration Setup dialog to configure initialization of your
Collaboration Server/Altium Vault in preparation for collaboration.
Use the Vault Address field to specify the address of your Collaboration Server/Altium Vault. Enter the name of the computer (e.g. jhowiehome:9780), or its IP address (e.g. 192.168.0.1:9780).
The following additional options are available:
- Create MCAD User (mcad/123) - enable this option to create a user in the server/vault (with name mcad and password 123) that can be used by the SOLIDWORKS user.
- Create ECAD User (ecad/123) - enable this option to create a user in the server/vault (with name ecad and password 123) that can be used by the PCBWorks user.
- Add Sample PCB Projects - enable this option to create a repository for the server/vault, called Examples. Two example design projects are added to this repository (TouchDimmer and StereoEQ).
With the desired options enabled, click OK - connection to the server/vault will be made (provided the address for the server/vault is correct) and the chosen elements implemented. A confirmation dialog will inform you that setup has successfully completed.