Cross-Probe & Cross-Select Tools
Contents
Parent page: Commands
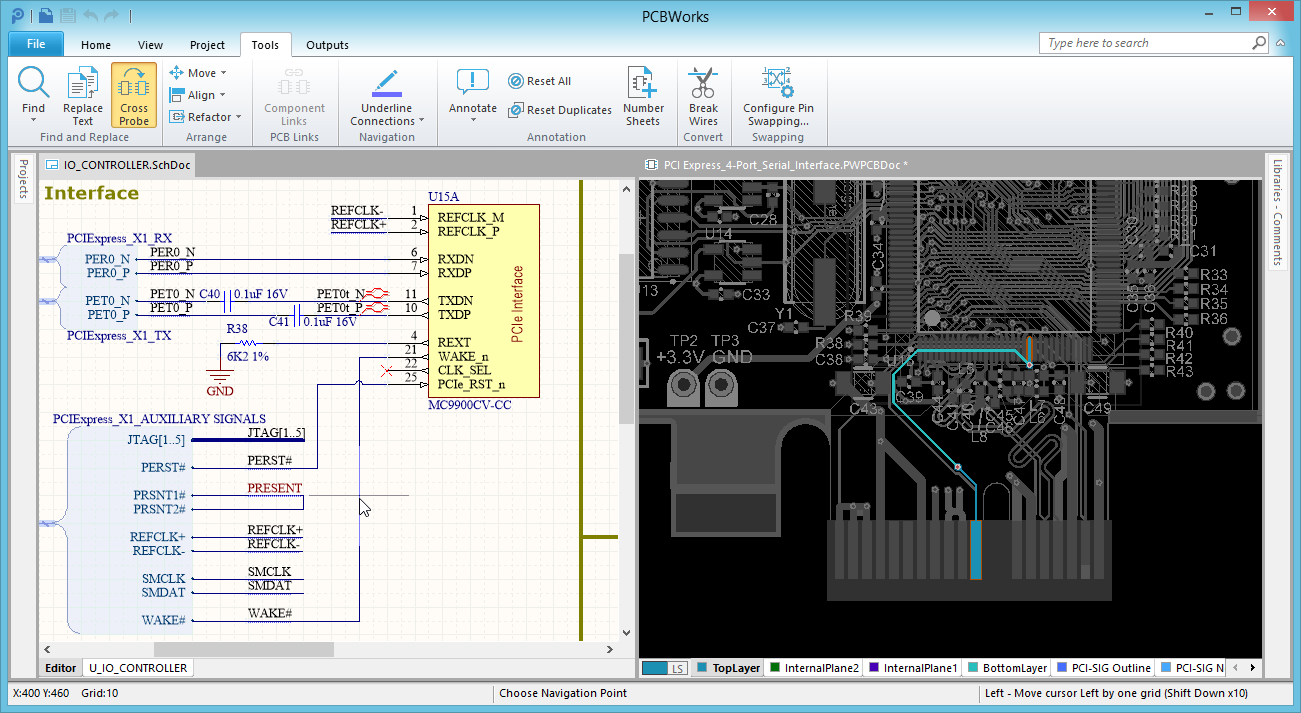
Click on the schematic net and Cross Probe to that net on the board.
Summary
Working between the schematic and the PCB is an essential part of the board design process, and there are many instances where it helps to be able to choose an object in the schematic and then work on that object in the board design - or vice versa. Imagine being able to select components in the schematic and then move and place those selected components on the board, or click on a bus in the schematic and check the routing of that bus across and through the board. That's just 2 examples of the power of the Cross Probe and Cross Select features. Being able work between the schematic and PCB editors brings a higher level of visibility into the overall structure and implementation of the design.
PCBWorks includes dedicated features and tools to help with this process, including:
- Cross Probe - click on a component / pin / bus / net in one editor, jump to that component / pin / net(s) in the other editor.
- Cross Selection - select one or more components in one editor, PCBWorks will select them in the other editor.
Cross Probe
Cross-probing is a powerful searching tool to help locate objects in other editors, by choosing the object in the current editor. Full cross-probing support is provided for components, buses, nets and pins/pads. The cross-probing feature is accessed in the following ways:
- From the Schematic Editor, by clicking Tools | Find and Replace |
 .
. - From the PCB Editor, by clicking Tools | Locate | .
Cross Probe Modes
Once the Cross Probe feature has been launched, there are two cross-probing modes available:
- Continuous Mode – in this mode you remain in the source document, while cross-probing to different objects on the target document. Simply position the cursor over the required object and click, or press Enter. The corresponding object will be highlighted on the target document. Continue cross-probing further objects, or right-click or press Esc to exit.
- Jump To Mode – this mode allows cross-probing to a single object (think of it as single-shot cross-probing), making the target document the active document. Simply position the cursor over the required object and Ctrl+click or press Ctrl+Enter. The corresponding object will be highlighted on the target document, with that document becoming the active document.
Cross Selection
Proving greater power when working between the editors with components, Cross Selection allows multiple components to be selected. Rather than locating a PCB component that is needed for editing in a dense PCB workspace, it is often easier to locate it on the schematic, and simply cross select it. To support this click-in-one-editor-to-select-in-the-other-editor behavior, cross selection is a mode rather than a tool, once it is enabled it remains available. That means every time a component is selected in the schematic, it is also selected in the PCB. If you need to select a group of components, perhaps to cluster them ready for placement, then simply select them all in the schematic and the same components are selected on the PCB.
Enabling Cross Selection
- To enable Cross Selection from the Schematic editor, click Home | Clipboard | and choose Cross Select Mode.
- Repeat this in the PCB editor to be able to cross select from the PCB editor back to the Schematic editor.
Performing a Cross Selection
Once Cross Selection has been enabled, simply click on a component on the schematic to select it on the PCB, or click to select a component on the PCB to automatically select it on the schematic.
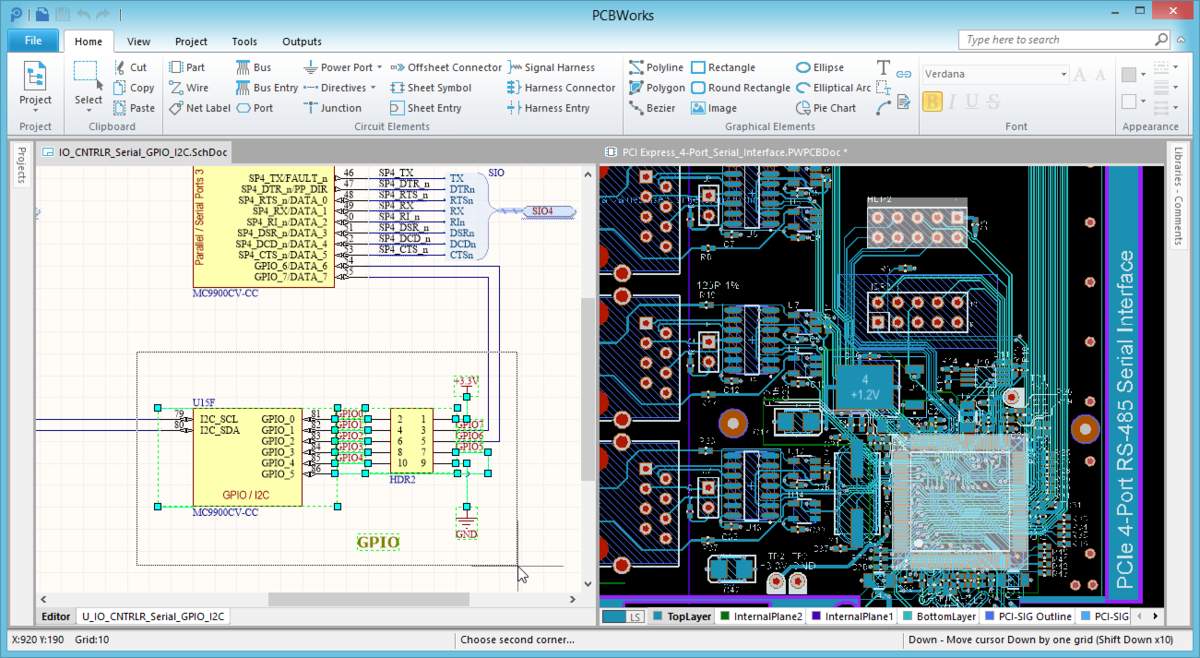
Components being selected on the schematic - they are then automatically selected on the PCB.
Controlling the Zoom and Pan
The software includes options to control the zoom and pan behaviour when you Cross Probe or Cross Select. These options are configured on the System - General Settings page of the Preferences dialog.
- Zoom Precision - set this to determine how far or closs you zoom in when a Cross Probe or a Cross Selection is performed.
- Cross Select Zoom Options - set this to automatically zoom to the Last Selected component, or All Selected components in the target document, when performing a Cross Selection.
Note that the target document must already be open. Cross Probe will make the target document the active document if it is available in another view (on another monitor, or in another view when the view is split), Cross Selection will not do this.