Print Preview
Parent page: WorkspaceManager Dialogs
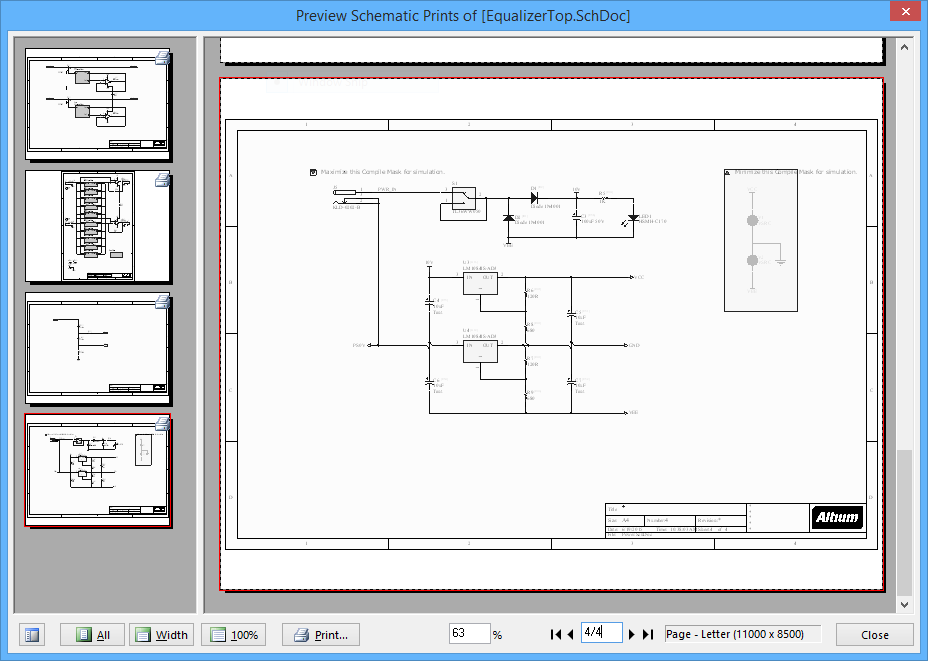
The Print Preview dialog
Summary
This dialog allows you to view printouts and edit their setup definitions before actually printing.
Access
The Print Preview dialog can be accessed in the following ways:
- From the schematic or PCB editor, click Outputs | Documentation |
 » Print Preview.
 - Click View | System | to access PCBWork's Home page. In the Tasks pane to the left, click on the Project Documents entry to present a summary of the documents for the active project to the right. Then right-click over the desired document's entry and choose the Print Preview command from the context menu.
- From the PCB or schematic editor, click Project | Content | to access the Options for project dialog. On the Default Prints tab, select the desired print output type, then click Page Setup to open a properties dialog and use the button located therein.
- In the Projects panel, right-click on any document name then click Print Preview.
- In the Projects panel, click Project then click Print Preview.
Options/Controls
The dialog is divided into three main regions:
- The left side region contains thumbnails of all pages contained within the document. Click on a thumbnail to jump to that page in the main display area. If there is more than one page, the current page is denoted by a red border.
- The main area is a preview of what your printout will look like.
- Buttons located at the bottom of the window allow you to manipulate the view.
Right-click Commands
The following commands are available on the right-click menu, accessed from either of the top two regions:
- Copy - use this command to make a copy of the current page.
- Export Metafile - use this command to export the current preview as a Windows Enhanced Metafile (*.EMF).
- Page Setup - use this command to open a dialog and change printing properties of the current preview, such as paper size, scale and color.
- Print - use this command to open a dialog and configure printer options then print.
- Setup Printer - use this command to open a dialog and configure printer properties.
- Configuration - use this command to open a print dialog and change advanced print properties, such as the layers and objects to be printed.
- Fit Pages - use this command to fit all pages within the viewing area.
- Page Width - use this command to scale the page to fit the width of the current viewing area.
- Whole Page - use this command to show the entire page in preview window.
- Zoom In - use this command to incrementally zoom in.
- Zoom Out - use this command to incrementally zoom out.
- Refresh - use this command to update the preview window with your changes, if necessary.
- Show Page Numbers - use this command to have page numbers printed on each page.
- Show Print Region - use this command to show the region that will print.
- Show Margin - use this command to show page margins.
- Show Grid - use this command to show grid lines in the preview area. Note the grid lines will not be displayed on your printout.
Additional Controls
These controls allow you to manipulate the view. Many of these controls are duplicates of the right-click commands described above:
- - click to toggle the display of the thumbnails panel. The thumbnails panel shows the thumbnails of a each page.
- - click to display all pages of a multi-page printout in the preview window.
- - click to adjust the document so the width of the page matches the width of the preview window.
- - click to adjust the document so that the entire page fits in the preview window.
- - click to access the Printer Configuration dialog and print the current printout setup.
- - displays the current zoom factor. Type in a value to scale the current preview.
- - the following cluster of controls can be used to quickly navigate through multi-page printouts:
- First - click to go to the first page of a multi-page printout.
- Previous - click to go to the previous page of a multi-page printout.
- Current - reflects the current page number. You can also enter a page number then click Enter to go directly to that page.
- Next - click to go to the next page of a multi-page printout.
- Last - click to go to the last page of a multi-page printout.